
Free e-book
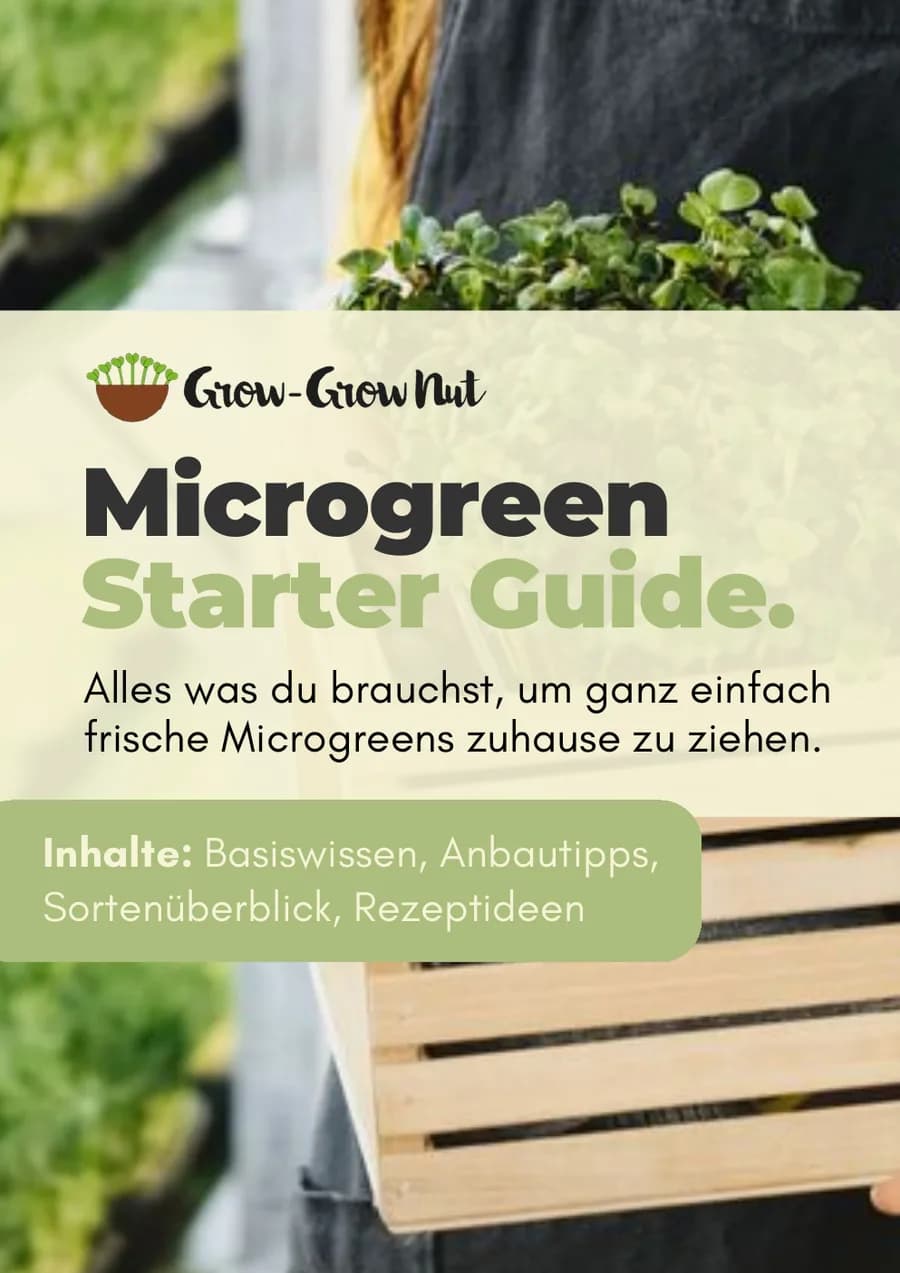
Your Microgreen Starter Guide
Everything you need to grow fresh microgreens at home, the easy way. No green thumb required.
PDF · 30 pages · approx. 6 MB · no sign-up
Please note: the guide is only available in German.
 Free
- varieties profiled
- 11
- steps to your harvest
- 4
- days to your first plate
- 5–14
- ideal temperature
- 18–22 °C
What's inside
The basics
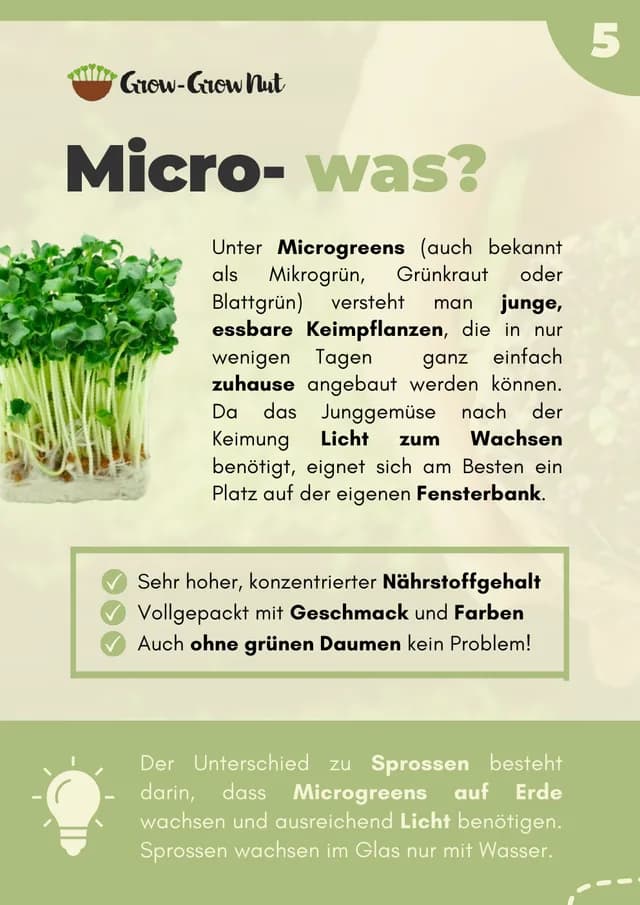
What microgreens are and what makes them special.
- Micro-what? A quick intro
- How they differ from sprouts
- Nutrients and chlorophyll
Growing tips
From soaking to harvest, step by step.
- Bowl, seeds and growing medium
- Finding the right spot
- Avoiding common mistakes
Microgreen varieties
From alfalfa to sunflower: flavour and uses.
- 11 popular varieties
- Tips on where to start
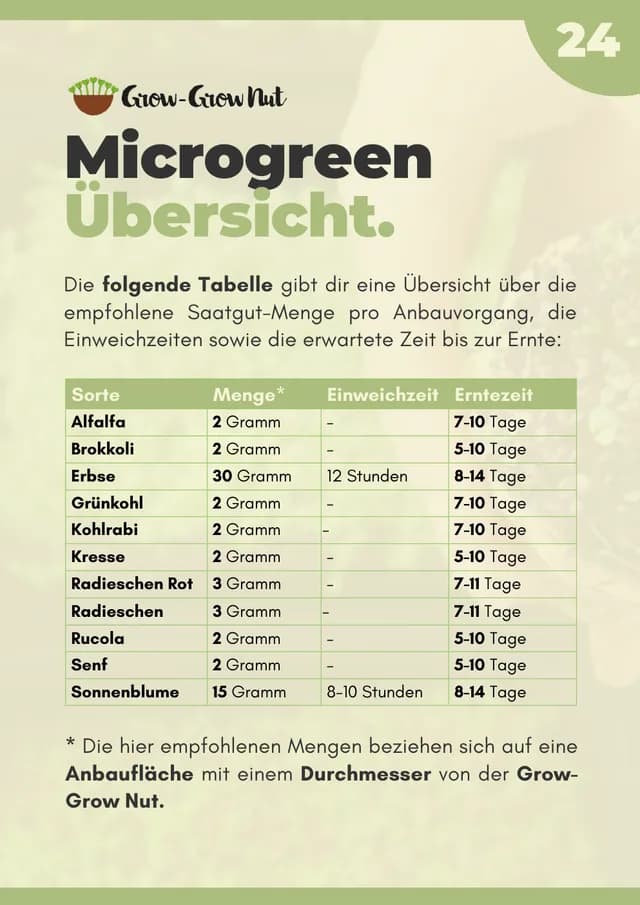
- Table of seed amounts and harvest times
Everyday use
How to get your microgreens onto the plate.
- Buttered bread, smoothies and shots
- Radish quark
- Our starter sets
A look inside
Four of the 30 pages, as a little taster.

The 4-step plan in short
The guide explains every step in detail. Here's the short version:
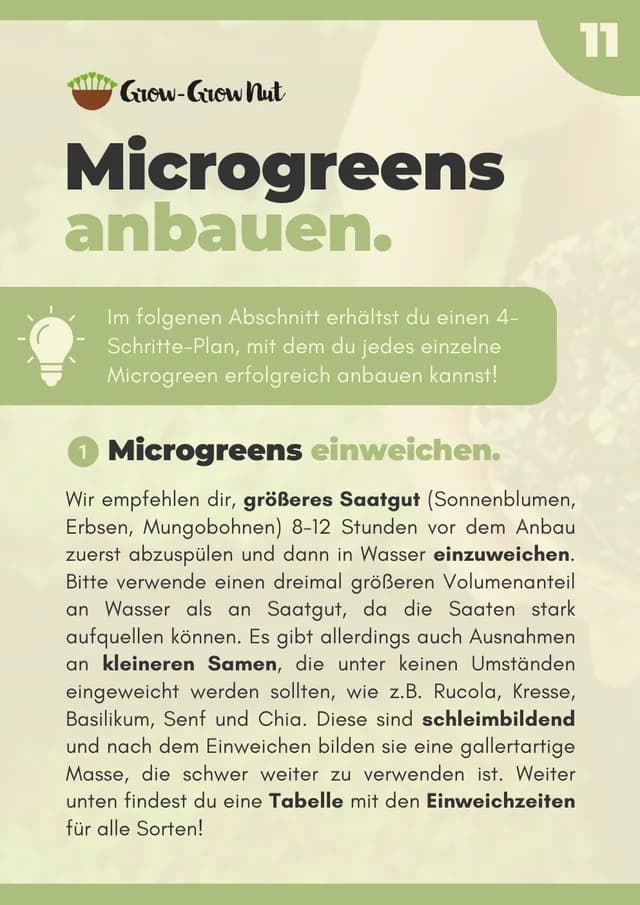
Soak
Larger seeds like sunflower or pea soak in water for 8–12 hours first. Small seeds like rocket or cress stay dry.
Sow
Let the coco soil swell, press it smooth and spread the seeds evenly. Moisten and cover.
Wait & care
After 2–5 days everything has germinated. Once your seedlings are 1–3 cm tall, take off the cover and move them into the light.
Harvest & enjoy
After 5 to 14 days, cut them a finger's width above the soil and enjoy them right away.
Ready for your first harvest?
Download the guide and get started. Our starter kit has everything you need.